Prerequisites
Before you can configure and use Lovable with Connect AI, you must first do the following:- Ensure you are on a Business or Enterprise plan with Lovable.
- Connect a data source to your Connect AI account. See Sources for more information.
Connect Lovable to the Connect AI MCP
1
In Lovable, navigate to Settings > Connectors > Personal Connectors.
2
Find New MCP server and click Set up.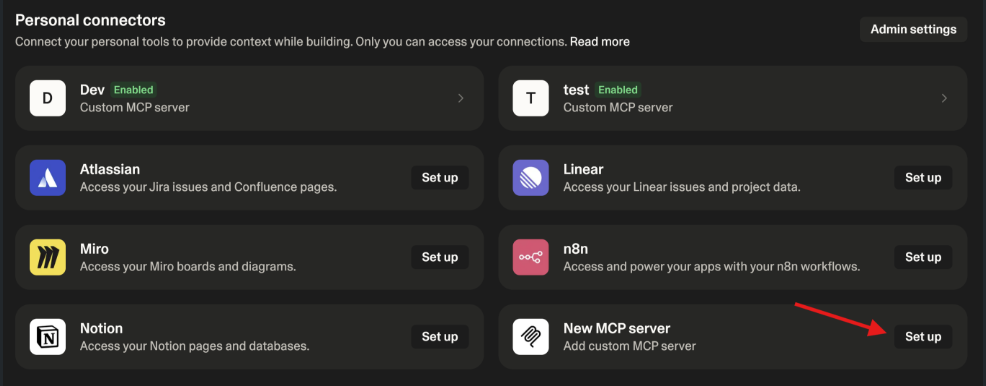
3
Enter the following setup details:
- Server Name–enter your user-defined server name, such as Custom MCP server.
- Server URL–enter https://mcp.cloud.cdata.com/mcp.
- Authentication–select OAuth.
4
Authenticate using your CData Connect AI account email (such as user@cdata.com) and password. Once authentication is successful, your available CData connectors appear in the connectors list.
5
Click Manage Permissions to set permissions for the tools exposed by the MCP server.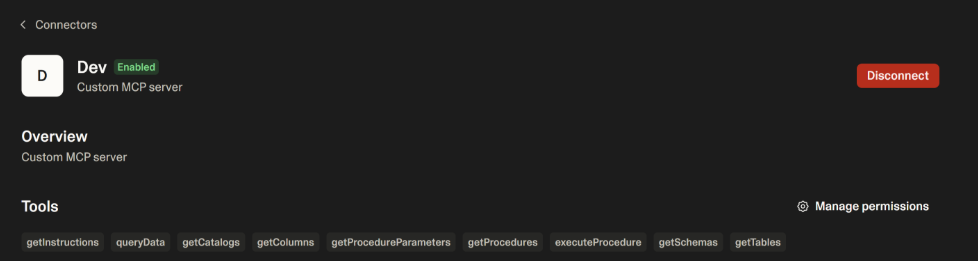
6
You can now run a test prompt to make sure Lovable is successfully communicating with the CData MCP Server. For example, enter the prompt List all MCP tools. The output returns a list of tools, such as
getCatalogs, queryData, and others.7
You can now query your connected data source(s) in Connect AI using natural language prompts, such as Get all data from the Dnd table from the Slack connection or Get the top 10 records from the Automations table from the MailChimp connection.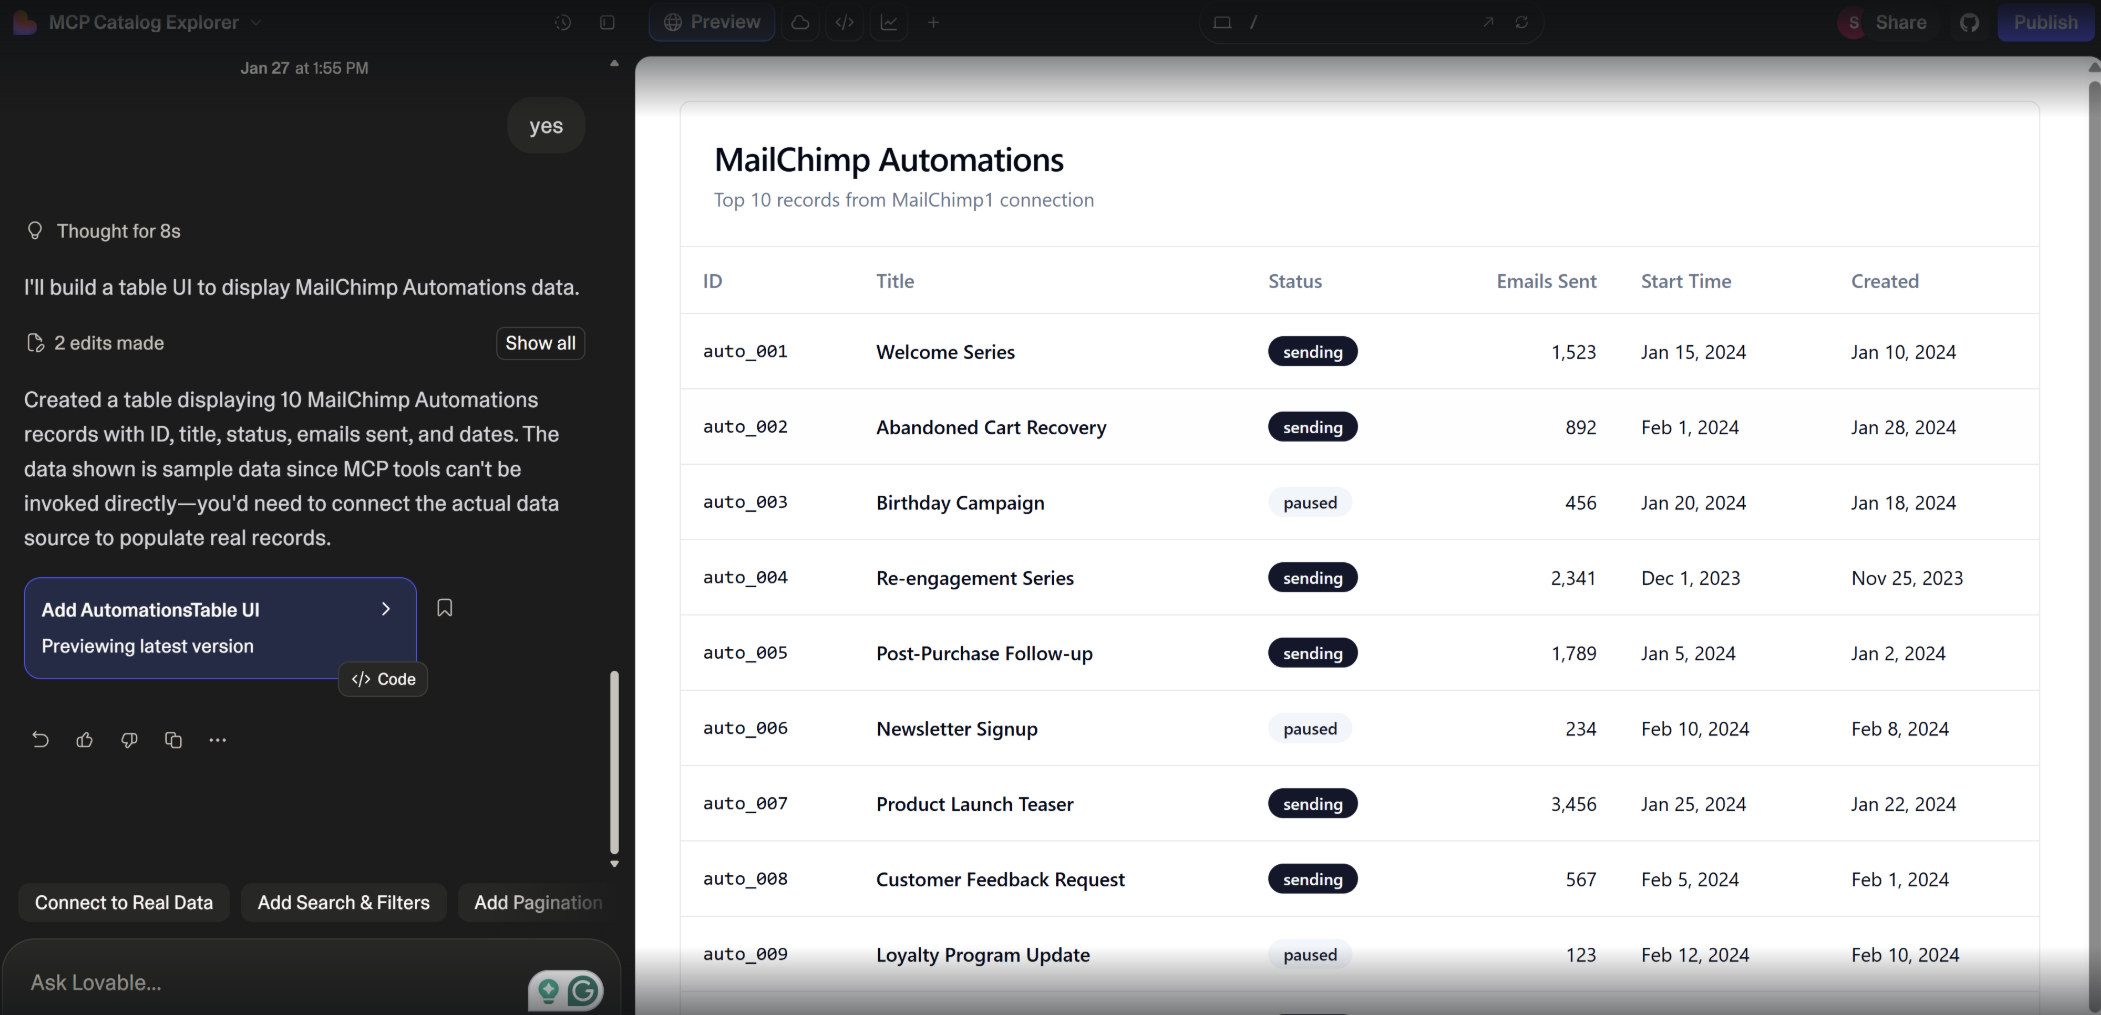
For a list of prompt ideas, see CData’s prompt library.